Supplies needed:

Step 1: Connect the DS18B20 sensors to the Raspberry Pi
| DS18B20 | Raspberry |
| RED | PIN1 – 3.3V |
| YELLOW (WHITE) | PIN7 (GPIO4) |
| BLACK | PIN6 GRND |
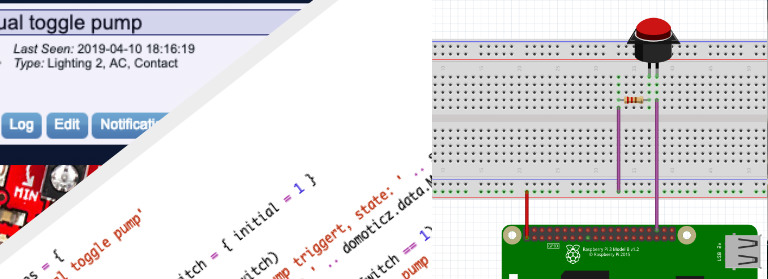
In the connection diagram below you see a circuit to connect three DS18B20 temperature sensors to a raspberry Pi, with the help of a breadboard.
If you want to connect a single DS18B20 temperature sensor, just remove 2 sensors from this circuit.

Step 2: Active a One Wire GPIO
By default the W1 protocol is disabled on a raspberry Pi. We can active this protocol by adding this line in the boot/config.
sudo vim /boot/config.txtAdd this line at the bottom of the file
dtoverlay=w1-gpio

#If you wanted to active the protocol an a custom pin (default is BCM4) use the code bellow. (for this example i use GPIO4
dtoverlay=w1-gpio,gpiopin=4
Reboot the raspberry Pi
sudo rebootStep 3: Validate the DS18B20
Goto the folder where the w1 devices are located.
cd /sys/bus/w1/devices

#show the content of the folder
ls
Here you can see all the W1 devices. You can recognize a temperature sensor if it starts with 28. If you see a folder, goto the folder and read the sensor.
cd 28-xxxxxx
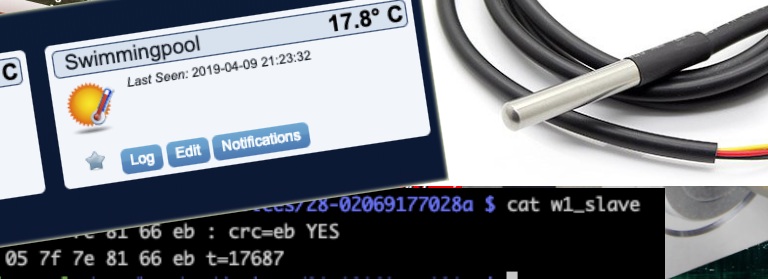
cat w1_slave
Now you should see something like this

Here the temperature is t=17687 (17.687 Celcius)
Step 4: Add the sensors to Domoticz
Now we can add the sensors to Domoticz. My higher goal is to automate a swimmingpool, so i need to add 3 sensors to domoticz.
In Domoticz goto
- Setup -> Hardware
- Add new hardware of type ‘1-Wire (System)
- For the DS18B20 we don’t use OWFS, so remote the ‘/mnt/wire/’ for the OWFS path field.
- Set the Sensor Poll Period to the value you want. I think once every 30sec is enough, so my value is 30000.
- Click on Add
If you goto Setup -> Devices you see now the connected temperature sensors. Give each sensor a name and active it in Domoticz.
If you goto the Temperature page you see all the sensors.


