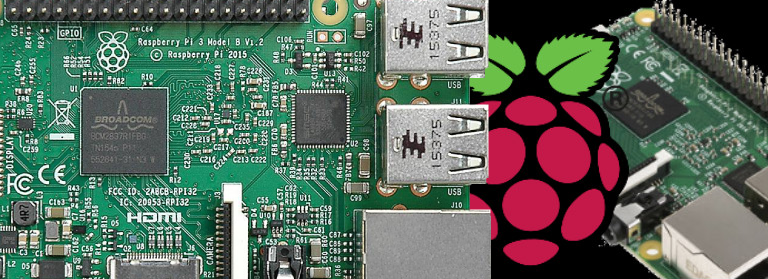
This post will guide you to a clean install of Raspbian Stretch on a Raspberry Pi. You can install it witch a keyboard and a HDMI screen attached to the Raspberry Pi, but headless is also possible if you are familiar to SSH.
step 1: Download Raspbian Stretch image
Navigate to https://www.raspberrypi.org/downloads/raspbian/ and download Rasbian Stretch Lite.

step 2: Write the image to your SD-card
Depending on your OS there are multiple ways to write an image on a SD Card. You can go to this url for more information: https://www.raspberrypi.org/documentation/installation/installing-images/README.md
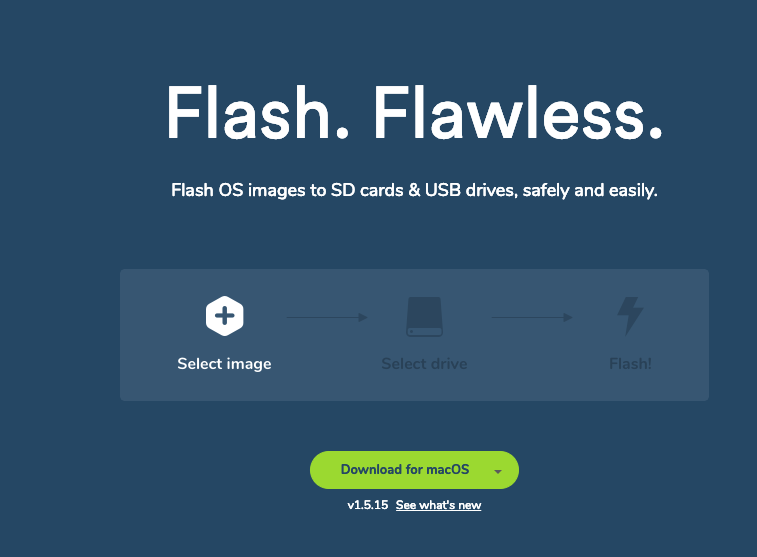
A nice tool to use is Etcher. It is available for Windows and MacOS.
step 3: Add a SSH file to the image
In order to enable SSH you place a file called ‘SSH’ (without an extention) to the root of the SD Card
step 4: Power on your Raspberry Pi
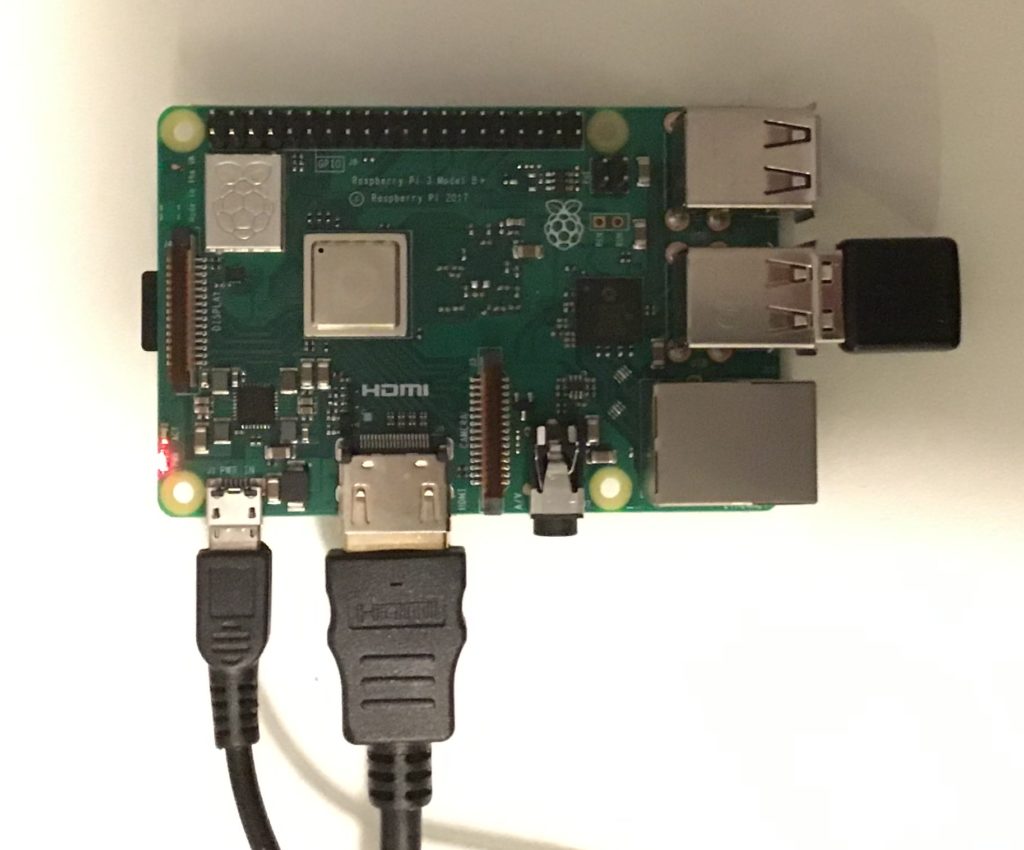
Pop the SD Card into the Raspberry Pi. If you want to install the Pi Headless a UTP (network) cable is also required. If you have a screen and keyboard available, insert the HDMI connector of the screen and USB of the keyboard into the Raspberry Pi.
Last but not least, push the power cable (usb) into the Raspberry Pi. This will trigger the Pi to startup.
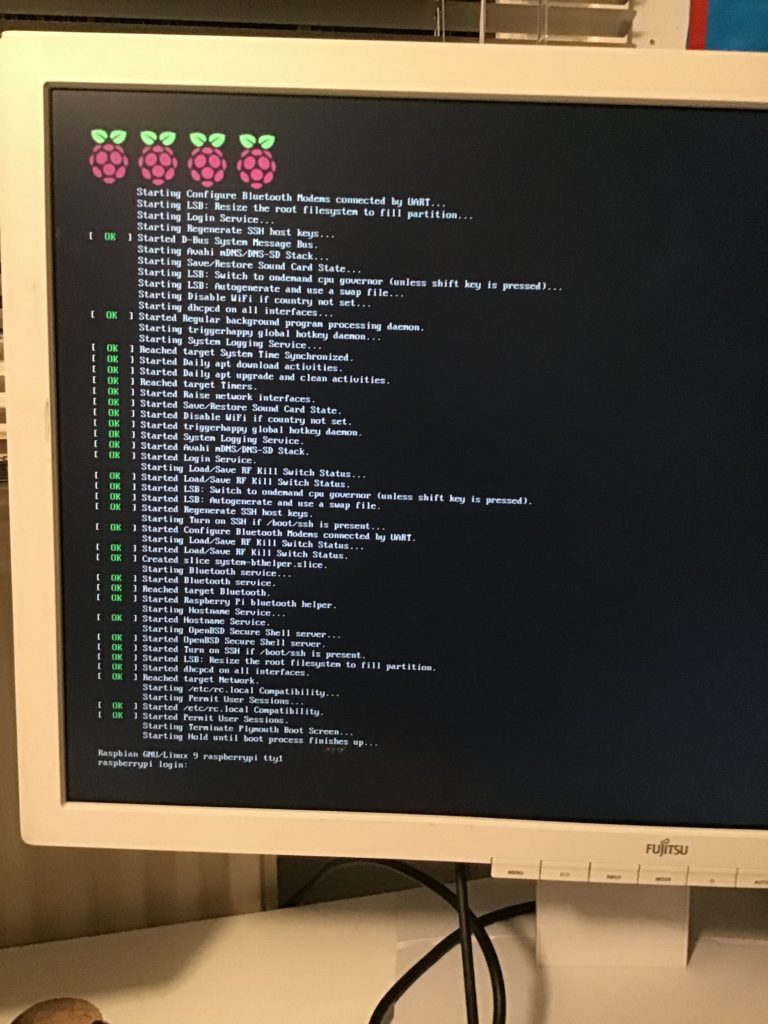
If you want to install the Pi Headless, continue with step 5. If not, you will see something like this.
Step 5: Retrieve the IP address of the Raspberry Pi
If you connect a UTP cable to the Pi login on your router (DHCP server) to retrieve the IP of the Rasberry. You should see a device called: raspberrypi.
If you are lucky you can also try this command:
ping raspberrypi.local

#example from my pi (named swimmingpool)
laptop-xxxx-3:~ xx$ ping swimmingpool.local
PING swimmingpool.local (192.168.2.36): 56 data bytes
Step 6: SSH to your Raspberry Pi
If you are on a unix system (linux, osX) you can directly SSH into your pi with this command. (where the IP is the IP you retrieved in Step 5).
SSH pi@192.168.2.36If you are on a Windows system you can use your favority SSH client, but most common it is Putty.
The default password is: raspberry
Step 7: Configure Raspbian
Via the command sudo raspi-config you can configure Raspbian. Most important things are: 4: Localisation Options.
Here you can configure you locale, timezone but also the country for WiFI. This is needed to enable WiFi in the mainmenu: 2) network options
Well, thats pretty mutch it. Enjoy your Raspberry Pi.
To enable login with SSH keys, got Step 8.
Step 8: Install your public SSH key
To install your SSH key on the raspberry Pi use the following commands:
mkdir -m 700 ~/.ssh
echo "ssh-rsa *****YOUR PUBLIC KEY*****" > ~/.ssh/authorized_keys
The next time you make a SSH connection to your pi, and you have your private key loaded, you don’t need to enter a password.